Introduction: Regular roof inspections are essential for ensuring the integrity and longevity of commercial roofing systems. By conducting thorough inspections, property owners and facility managers can identify potential issues early on and address them before they escalate into costly repairs or replacements. In this blog post, we’ll provide a step-by-step guide on conducting a comprehensive commercial roof inspection to help businesses maintain the health and performance of their roofing systems.
Step 1: Gather Necessary Tools and Equipment
Before starting the inspection, gather the necessary tools and equipment, including a ladder, safety harness, flashlight, binoculars, camera or smartphone for documentation, and a notebook or inspection checklist.
Step 2: Review Maintenance Records and Warranty Information
Review the commercial roof’s maintenance records and warranty information to understand its history, previous repairs, and warranty coverage. This information can provide valuable insights into the condition of the roof and any areas that may require special attention during the inspection.
Step 3: Conduct a Visual Inspection of the Interior
Start by conducting a visual inspection of the interior of the building, focusing on areas where the roof meets the ceiling or walls. Look for signs of water stains, discolouration, mould growth, or sagging ceiling tiles, which may indicate roof leaks or moisture infiltration.
Step 4: Inspect Roof Access Points and Penetrations
Next, inspect roof access points, such as roof hatches, stairwells, access doors, and roof penetrations, including vents, pipes, skylights, and HVAC units. Check for signs of damage or deterioration around these areas, such as cracked seals, missing flashing, or loose fasteners.
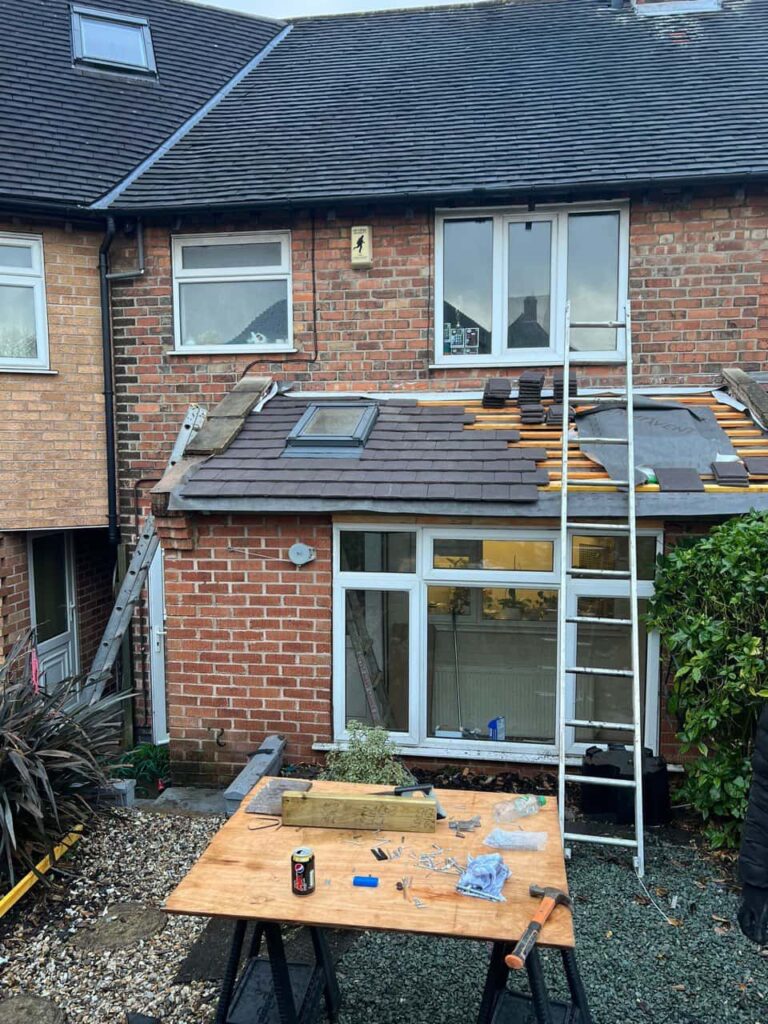
Step 5: Assess Roof Surface Condition
Carefully inspect the roof surface for signs of damage, wear, or deterioration. Walk the roof perimeter and visually inspect the roofing materials, seams, and flashings. Look for signs of cracks, tears, blisters, punctures, or loose or missing shingles, tiles, or membranes.
Step 6: Check Roof Drainage and Gutters
Inspect roof drainage systems, including gutters, downspouts, and scuppers, to ensure they are clear of debris and functioning properly. Look for signs of ponding water, clogged drains, or improper slope, leading to water damage and roof leaks.
Step 7: Document Findings and Take Photographs
Document your findings and take photographs or videos of any areas of concern, damage, or deterioration. Note the location, extent, and severity of issues observed during the inspection. This documentation will help prioritise repairs and communicate findings with roofing contractors or maintenance teams.
Step 8: Review and Address Findings
Review the inspection findings and prioritise repairs based on urgency and severity. Develop a maintenance plan and schedule repairs promptly to address identified issues and prevent further damage to the commercial roof.
Conclusion: Regular commercial roof inspections are essential for identifying and addressing potential issues before they escalate into costly repairs or replacements. By following this step-by-step guide, property owners and facility managers can perform thorough inspections and maintain the health and performance of their commercial roofing systems. Remember to prioritise safety during inspections, use appropriate personal protective equipment, and consult with qualified roofing professionals for complex issues or repairs.
Call us on: 01623 701 196
Click here to find out more about New Ollerton Roofing Repairs
Click here to complete our contact form and see how we can help with your roofing needs.