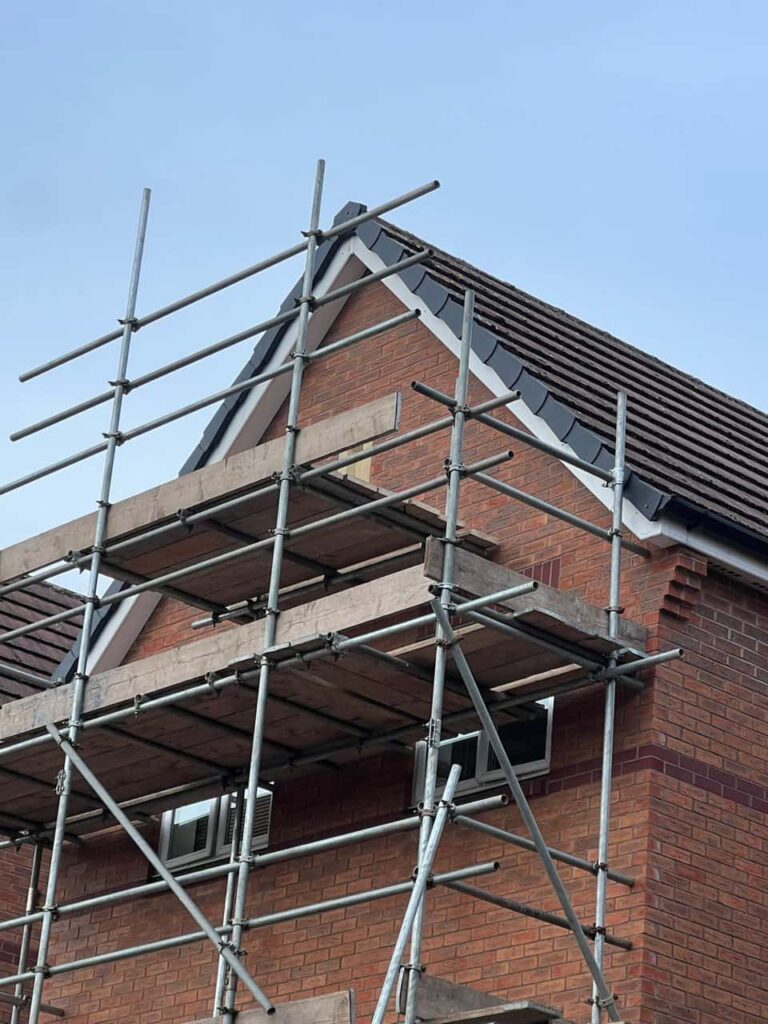
Concrete roof tiles are a durable and cost-effective option for many homes, offering long-lasting protection from the elements. However, over time, they can become damaged due to extreme weather conditions, age, or physical impact. If you notice cracked, chipped, or broken tiles, it is essential to repair them promptly to prevent further damage to your roof and the interior of your home. In this guide, we will explain how to repair damaged concrete roof tiles and restore your roof to its original condition.
1. Assessing the Damage
Before beginning any repairs, it is essential to assess the extent of the damage. In some cases, the damage may be isolated to one or two tiles, while in others, the damage may affect a larger section of the roof. Start by inspecting the tiles to identify any visible cracks, chips, or breakages. If you have access to a ladder and the necessary safety equipment, carefully inspect the damaged tiles from the roof. Alternatively, hire a professional roofer to conduct a thorough assessment.
2. Removing the Damaged Tile
Once you’ve identified the damaged tiles, the next step is to remove them. Depending on the type of concrete tile, this may involve lifting the tile and sliding it out from its position. Be sure to take proper safety precautions, as working on a roof can be dangerous. Wear appropriate footwear and ensure that your ladder is secure. If you’re not confident in your ability to safely remove the tile, it’s best to call in a professional roofer.
To remove the tile, gently lift the tile above the damaged one and slide it off the roof. For tiles that are difficult to move, use a hammer and chisel to loosen them. Be careful not to damage surrounding tiles in the process.
3. Preparing the Roof for New Tiles
After removing the damaged tile, inspect the area beneath it for any debris or damage to the roof structure. If the underlayment or felt is damaged, it may need to be replaced before proceeding. Ensure that the area is clean and dry before placing a new tile. This step is crucial to ensuring a secure fit for the new tile and preventing moisture from getting trapped under the roof surface.
4. Installing the New Concrete Tile
Now that the area is prepared, it’s time to install the replacement tile. Concrete roof tiles are typically interlocking, so you’ll need to slide the new tile into place carefully. Make sure that the new tile is securely positioned and aligned with the tiles surrounding it. Once in place, ensure that the tile is properly fastened to prevent it from shifting or becoming loose over time.
Some tiles may require a small amount of mortar to secure them in place. If you’re unsure about how much mortar to use, consult a professional roofer to ensure the repair is done correctly.
5. Checking for Additional Issues
After installing the new tile, take a step back to inspect the roof for any other potential issues. It’s important to check the surrounding tiles for cracks, missing tiles, or other damage that could lead to further complications. If you notice additional problems, address them immediately to prevent water damage or structural issues.
Conclusion
Repairing damaged concrete roof tiles is an essential part of maintaining the integrity of your roof and protecting your home from leaks and water damage. By carefully assessing the damage, removing the old tile, and installing a new one, you can restore your roof to its original condition. If you’re unsure about the process or would prefer to leave the repairs to the professionals, don’t hesitate to contact us at New Ollerton Roofing Repairs. Our expert team is here to provide high-quality roof repairs, ensuring that your roof remains safe and secure for years to come.
For more information or to schedule a roof inspection, get in touch with us today.
Call us on: 01623 701 196
Click here to find out more about New Ollerton Roofing Repairs
Click here to complete our contact form and see how we can help with your roofing needs.

